Module Installation Guide (Shared Hosting) 2025: Unlock Your Site’s Full Potential
You’ve got a vision. You found the perfect WordPress plugin or a sleek Python script that will add that killer feature to your website. You upload it, hit activate, and are greeted by a cold, unforgiving error: Fatal error: Class 'SomeModule' not found. Your heart sinks. The feature you desperately need is locked behind the seemingly cryptic wall of module installation on your shared host.
If you’ve ever felt the frustration of being limited by your hosting environment, you’re not alone. Shared hosting is fantastic for affordability and ease of use, but it can feel like a gilded cage when you need to install custom software. But what if I told you that the cage is often unlocked? As a developer who has wrestled with countless cPanel dashboards, I’ve learned that mastering module installation is the superpower that transforms your shared hosting account from a basic website holder into a powerful development sandbox.
This guide for 2025 will demystify the process. We’ll move beyond generic advice and provide the specific, actionable strategies you need to install PHP extensions, Python packages, and Node.js modules on your shared server.
Why Module Installation on Shared Hosting is Different (And Tricky)
Before we dive in, it’s crucial to understand the shared hosting landscape. You’re on a server with hundreds of other users. For security and stability reasons, you don’t have root or sudo access. This means you can’t run commands like sudo apt-get install php8.3-gd.
The key is to work within your user space. The goal isn’t to install modules system-wide but to install them locally, for your account only. This is the fundamental principle that guides all the methods we’ll discuss.
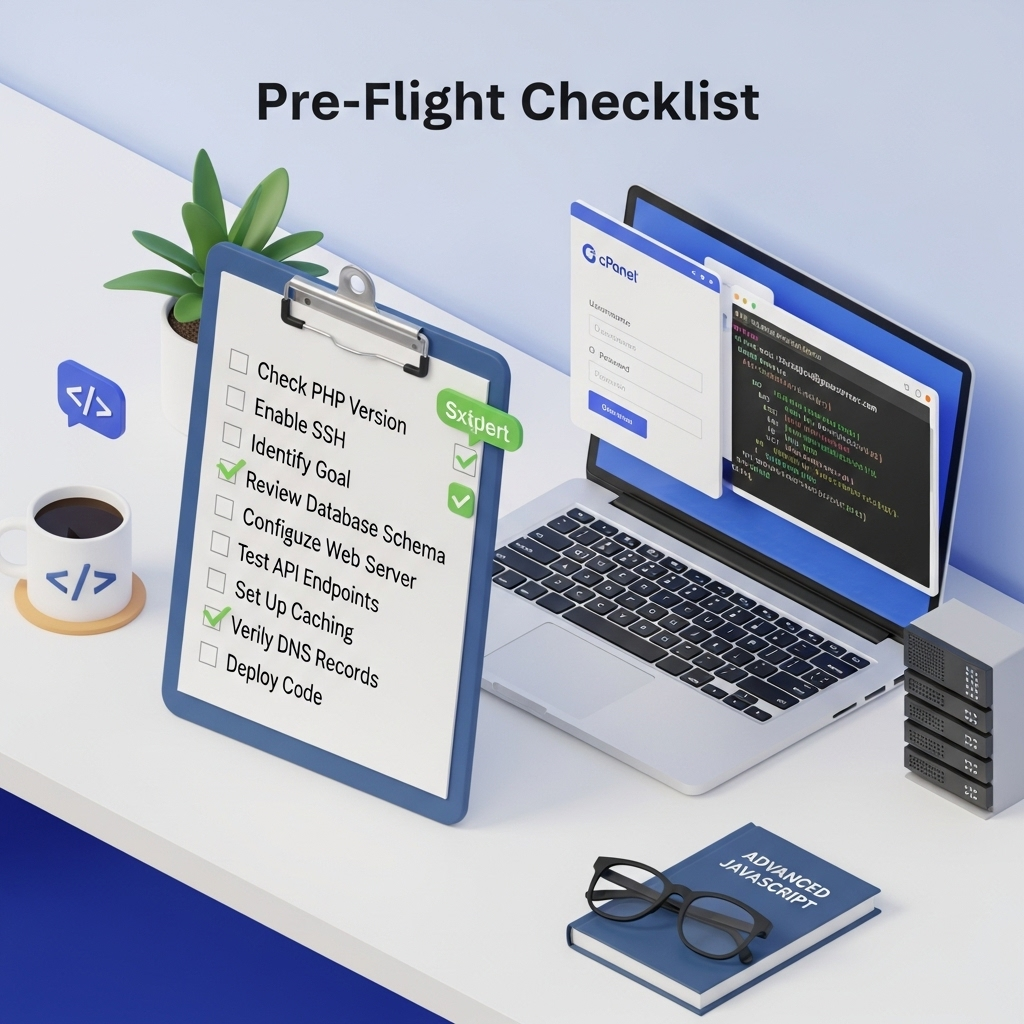
Pre-Flight Checklist: What You MUST Do First
- Identify Your Hosting Stack: Log into your cPanel (or equivalent). Find the sections for “PHP Version,” “Python,” or “Node.js.” Note the exact versions available. You cannot install a module for PHP 8.3 if your host is only offering PHP 8.2.
- Access Your Toolbox: You will need:
- cPanel/File Manager: For uploading and extracting files.
- SSH Access (Terminal): This is the golden ticket. Most reputable shared hosts offer SSH access. If you don’t have it enabled, open a support ticket and ask. It’s non-negotiable for advanced work.
- A Specific Goal: Don’t just install modules randomly. Know why you need it (e.g., “I need
imagickto process images” or “I needpandasfor a data analysis script”).
The 2025 Guide: Installing Different Types of Modules

1. PHP Module Installation: The PECL Workaround
PHP extensions like imagick, gd, memcached, or sqlsrv are common requirements. Since you can’t use apt-get, we use PECL (The PHP Extension Community Library) to compile them locally.
Step-by-Step Method (Using SSH):
- Connect via SSH: Use a client like Terminal (Mac/Linux) or PuTTY (Windows) to connect to your server.
- Navigate to Your Home Directory:bashcd ~
- Create a Local Directory for PHP:bashmkdir php cd php
- Download and Extract the PHP Source Code: This is the magic trick. You need the source code that matches your PHP version to compile against.bash# Find your exact PHP version (e.g., 8.3.6) php -v # Download the corresponding source tarball from php.net wget https://www.php.net/distributions/php-8.3.6.tar.gz # Extract it tar -xzvf php-8.3.6.tar.gz
- Compile and Install the Desired Module:bash# Navigate to the extension’s directory within the source cd php-8.3.6/ext/imagick/ # Replace ‘imagick’ with your desired extension # Run the phpize command to prepare the build environment phpize # Configure the build for your local path ./configure –with-php-config=/usr/bin/php-config –prefix=$HOME/php # Compile and install make make install
- Enable the Module: The compilation will output a path to the
.sofile (e.g.,/home/youruser/php/lib/php/extensions/no-debug-non-zts-20230817/imagick.so). You need to tell PHP to load it.- In your
php.inifile (find its path viaphp --ini), or - In a custom
.user.inifile within your website’s public directory, add this line:iniextension=/home/yourusername/php/lib/php/extensions/no-debug-non-zts-20230817/imagick.so
- In your
- Verify: Run
php -m | grep imagickin SSH or create aphpinfo()file on your site. You should see the module listed.
Pro-Tip: Many modern hosts with Softaculous or Application Managers may offer a UI to toggle common PHP extensions. Always check there first before attempting a manual compile.
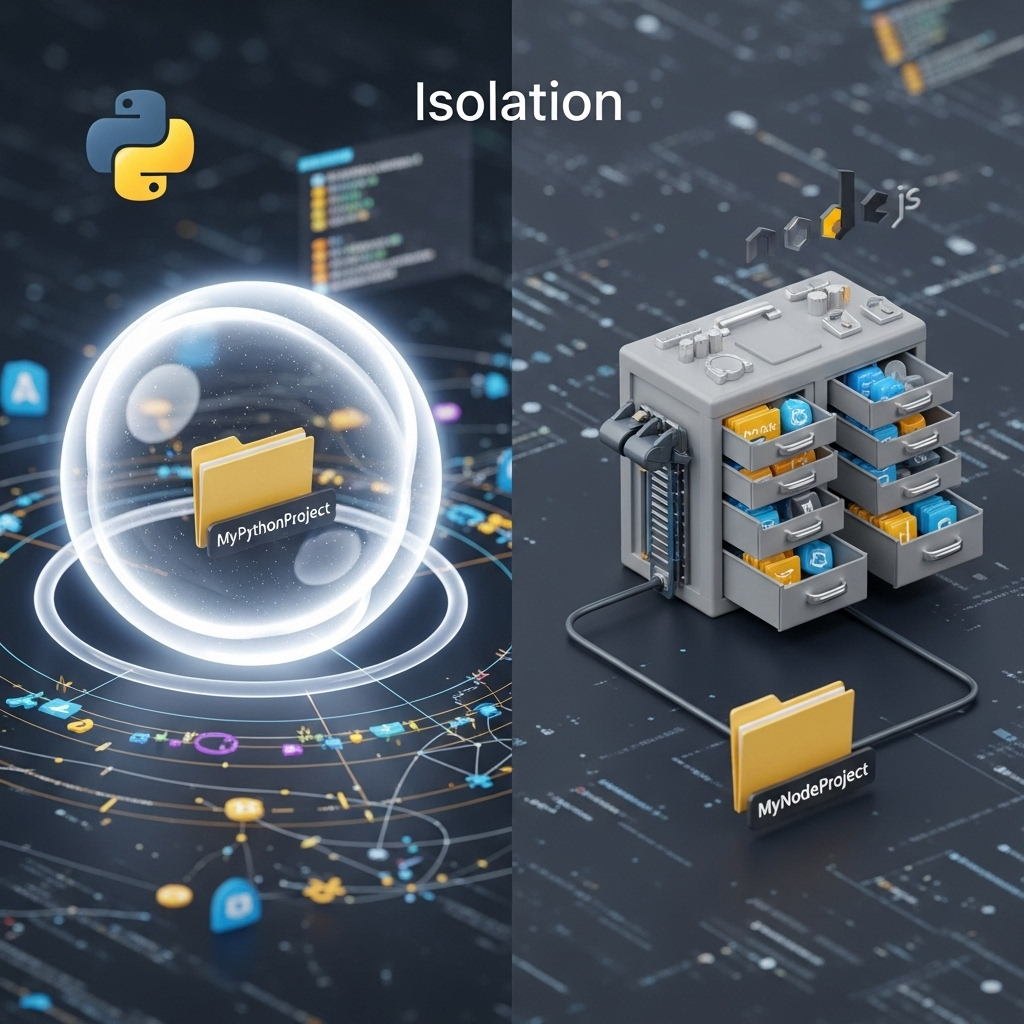
2. Python Module Installation: The Power of virtualenv & pip
For Python scripts, you should never install packages into the system-wide Python. Always use a virtual environment.
Step-by-Step Method (Using SSH):
- Create a Virtual Environment: Navigate to your project directory and create a
venvfolder.bashcd ~/public_html/my_python_app python3.9 -m venv venv # Use your host’s available Python version - Activate the Virtual Environment:bashsource venv/bin/activateYour command prompt should change, showing
(venv)at the beginning. - Install Packages Using
pip:bash(venv) pip install pandas requests pillowAll packages are now installed locally in thevenvfolder, completely isolated from the system. - Point Your Script to the Virtual Environment: In your Python script or in your
.htaccessfile (if using a framework like Django or Flask), you must ensure it uses the Python binary from yourvenv.bash# Example for a Python script #!/home/yourusername/public_html/my_python_app/venv/bin/python import pandas as pd # … your code
3. Node.js Module Installation: Using npm Locally
Node.js on shared hosting is straightforward, as npm by default installs into a local node_modules folder.
Step-by-Step Method (Using SSH):
- Navigate to Your Project Directory:bashcd ~/public_html/my_node_app
- Initialize npm and Install Packages:bashnpm init -y # Creates a package.json file npm install express # Installs the ‘express’ framework locally
- Run Your Application: Your
package.jsonwill define the start script. You can run it directly.bashnode app.js

Troubleshooting Common Module Installation Nightmares
| Issue | Likely Cause | Solution |
|---|---|---|
phpize command not found | The PHP development tools aren’t installed. | Contact support and ask them to install the php-devel package for your version. |
| Compilation fails with missing headers | Missing library dependencies (e.g., libmemcached-dev). | You can’t install these. You must ask hosting support to install the system library, then try again. |
| Module loads in CLI but not on website | Different php.ini files. | Web-based PHP often uses a different php.ini than the command line. Use a phpinfo() file viewed in a browser to find the correct .ini to edit. |
pip command not found | Python or pip isn’t set up. | Use the exact command your host provides, often pip3.9 or python2.7 -m pip. |
Conclusion: You Are the Administrator of Your Space
Module installation on shared hosting isn’t about brute force; it’s about finesse. It’s about understanding the boundaries of your environment and using the right tools—PECL, virtualenv, and npm—to work within them. While you may not have root access, you have a remarkable amount of power at your fingertips.
The process can be complex, and you will likely encounter errors. Don’t see them as failures; see them as puzzles. Each solved error is a new tool in your development arsenal.
Have you battled with a particularly tricky module installation? What’s the one module you wish your host would pre-install? Share your war stories and victories in the comments below—let’s help each other build better websites!
Ready to put your new power to use? Check out our guide on deploying a Python Django application on shared hosting to see these principles in action.