
PHP Form with Validation (Secure & Simple)
You’ve built the “Contact Us” page. It looks beautiful. The submit button has a satisfying click. You test it, and… nothing happens. Or worse, you wake up to a flooded inbox of spam, gibberish, and attempted SQL injections. If you’ve ever felt the frustration of a broken or insecure web form, you’re not alone.
The humble PHP form is the workhorse of the web, powering everything from login pages to complex surveys. Yet, it’s also one of the most common attack vectors for malicious actors. A poorly built form is like leaving your front door wide open with a welcome mat for hackers.
But it doesn’t have to be that way. After years of building and breaking forms, I’ve learned that security and simplicity aren’t mutually exclusive. In this guide, we won’t just write code; we’ll build a fortress. We’ll create a PHP form that is not only functional but secure, validated, and sanitized against common threats. Let’s move from being a beginner to a confident developer who knows how to handle user data responsibly.

Why Your Basic PHP Form is a Security Nightmare
Most tutorials stop at this:
php
<?php
if (isset($_POST['submit'])) {
    $name = $_POST['name'];
    $email = $_POST['email'];
    $message = $_POST['message'];

    // Send email
    mail("you@example.com", "Subject", $message, "From: $email");
    echo "Thanks!";
}
?>
This code is dangerous. It blindly trusts user input, which is the number one security sin on the web. A user could:
- Inject malicious code: Scripts in the
messagefield could execute on your admin panel (XSS attacks). - Overflow your database: Submit massive amounts of data to crash your system.
- Spam you: Use bots to automatically submit the form thousands of times.
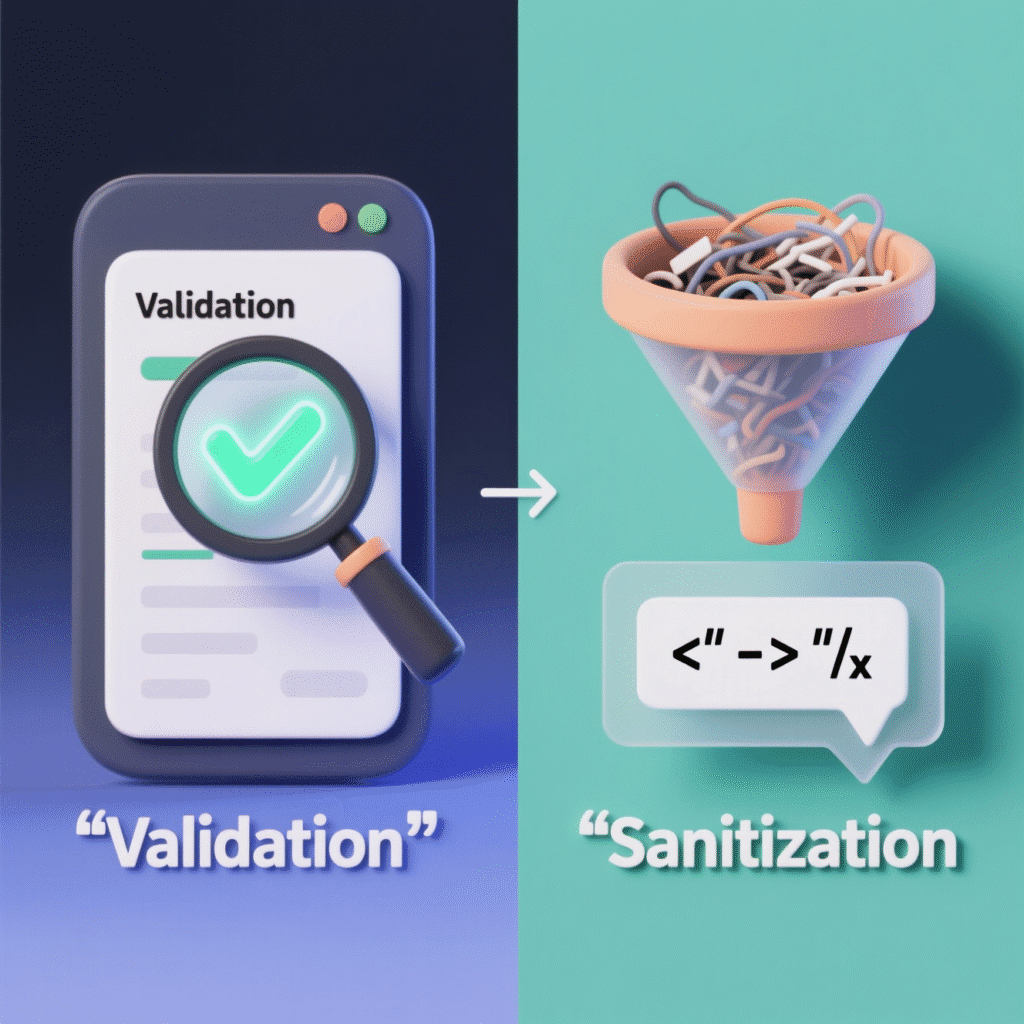
The solution is a two-step process: Validation and Sanitization.
- Validation: Checking if the data is what it’s supposed to be (e.g., is the email field a valid email address?).
- Sanitization: Cleaning the data to remove any harmful characters or code.
Building Our Secure PHP Form: A Step-by-Step Approach
We’ll build a robust contact form using a single form.php file. This approach handles both displaying the form and processing the submission, making it easier for beginners to manage.
Step 1: The HTML Form (The Frontend)
We start with the HTML structure. The key here is the action attribute pointing to the same file, and the method set to POST.
<!DOCTYPE html>
<html lang="en">
<head>
    <meta charset="UTF-8">
    <title>Secure Contact Form</title>
    <style>
        .error { color: red; }
        .success { color: green; }
    </style>
</head>
<body>
    <h2>Contact Us</h2>

    <?php if (!empty($success_message)) : ?>
        <p class="success"><?php echo $success_message; ?></p>
    <?php endif; ?>

    <form action="form.php" method="post">
        <label for="name">Name:*</label>
        <input type="text" id="name" name="name" value="<?php echo htmlspecialchars($name ?? ''); ?>">
        <span class="error"><?php echo $name_err ?? ''; ?></span><br>

        <label for="email">Email:*</label>
        <input type="text" id="email" name="email" value="<?php echo htmlspecialchars($email ?? ''); ?>">
        <span class="error"><?php echo $email_err ?? ''; ?></span><br>

        <label for="message">Message:*</label>
        <textarea id="message" name="message"><?php echo htmlspecialchars($message ?? ''); ?></textarea>
        <span class="error"><?php echo $message_err ?? ''; ?></span><br>

        <input type="submit" name="submit" value="Send Message">
    </form>
</body>
</html>
Key Points:
- We use
htmlspecialchars()to pre-fill the form values. This prevents XSS attacks if the form is re-displayed after an error. - We display error messages next to each field using PHP shorthand (
?? ''provides a default empty value if the error variable doesn’t exist). - We have a placeholder for a success message.
Step 2: The PHP Logic (The Backend Brain)
Now, the most important part: the PHP processing code at the top of our form.php file.
<?php
// Define variables and initialize with empty values
$name = $email = $message = "";
$name_err = $email_err = $message_err = "";
$success_message = "";

// Processing form data when form is submitted
if ($_SERVER["REQUEST_METHOD"] == "POST") {

    // Validate Name
    if (empty(trim($_POST["name"]))) {
        $name_err = "Please enter your name.";
    } else {
        $name = trim($_POST["name"]);
        // Check if name contains only letters and whitespace
        if (!preg_match("/^[a-zA-Z-' ]*$/", $name)) {
            $name_err = "Only letters and white space allowed";
        }
    }

    // Validate Email
    if (empty(trim($_POST["email"]))) {
        $email_err = "Please enter your email address.";
    } else {
        $email = trim($_POST["email"]);
        // Sanitize and validate email
        $email = filter_var($email, FILTER_SANITIZE_EMAIL);
        if (!filter_var($email, FILTER_VALIDATE_EMAIL)) {
            $email_err = "Invalid email format";
        }
    }

    // Validate Message
    if (empty(trim($_POST["message"]))) {
        $message_err = "Please enter a message.";
    } else {
        $message = trim($_POST["message"]);
        // Sanitize message - allow reasonable punctuation
        $message = filter_var($message, FILTER_SANITIZE_STRING, FILTER_FLAG_NO_ENCODE_QUOTES);
        // Check minimum length
        if (strlen($message) < 10) {
            $message_err = "Message must be at least 10 characters long.";
        }
    }

    // Check input errors before sending email
    if (empty($name_err) && empty($email_err) && empty($message_err)) {
        // Recipient email (replace with your own)
        $to = "your_email@example.com";
        $subject = "New Contact Form Submission from $name";
        $body = "Name: $name\nEmail: $email\n\nMessage:\n$message";
        $headers = "From: $email";

        // Attempt to send email
        if (mail($to, $subject, $body, $headers)) {
            $success_message = "Message sent successfully!";
            // Clear form fields
            $name = $email = $message = "";
        } else {
            $email_err = "Oops! Something went wrong. Please try again later.";
        }
    }
}
?>
Breaking Down The Security & Validation
This code is secure because of the specific functions we use:
trim(): Removes extra spaces from the beginning and end of input. Prevents errors from accidental spacebars.empty()& Server-Side Validation: We check every critical field. Validation must be done on the server; client-side (JavaScript) validation can be easily bypassed.filter_var()withFILTER_SANITIZE_EMAIL: This PHP function is a powerhouse. It removes characters that are not allowed in an email address.filter_var()withFILTER_VALIDATE_EMAIL: This checks if the sanitized email is actually in a valid format. It’s the best practice for email validation.preg_match(): Used for the name field with a regular expression to ensure it only contains letters, apostrophes, dashes, and spaces.htmlspecialchars(): Used when echoing data back into the HTML form. This converts special characters to HTML entities, preventing XSS attacks. For example,<script>becomes<script>, which is harmless text.
Taking It Further: Advanced Protection
For a production environment, consider these steps:
- CSRF Protection: Add a hidden token field to your form to prevent Cross-Site Request Forgery attacks. Libraries like Laravel make this easy.
- Honeypot Field: Add a hidden form field that should always be empty. If it gets filled out, it’s likely a bot, and you can reject the submission silently.
- Rate Limiting: Use a server-side mechanism or a tool like Cloudflare to limit how many times a form can be submitted from a single IP address in a given time period.

Conclusion: Empowerment Through Security
Building a PHP form is a rite of passage for developers, but building a secure one is what separates amateurs from professionals. By understanding the principles of validation and sanitization, you’re not just writing code; you’re building a robust line of defense for your website and its users.
This form is a solid foundation. You can extend it with file uploads, dropdowns, and checkboxes, always applying the same principles: validate, sanitize, and never trust user input.
What’s your biggest challenge with web forms? Have you ever been hit by spam or a security issue from a form? Share your stories and questions in the comments below—let’s learn from each other and build a more secure web, one form at a time!
Ready to store this data? Check out our next tutorial on connecting your PHP form to a MySQL database securely.