
Google Classroom: Complete Beginner Setup
Remember the feeling? The endless stacks of papers to grade, the permission slips that never seem to make it home, the frantic emails from students who lost the homework instructions. For decades, this was the chaotic symphony of teaching. But what if you could conduct that symphony from a single, intuitive dashboard?
That’s the promise of Google Classroom. It’s not just another piece of tech; it’s a digital hub that can transform your workflow, boost student engagement, and finally help you win the battle against the paper monster. As a former teacher who made the switch, I can tell you—the relief is real.
If you’re staring at the platform for the first time, feeling a mix of excitement and overwhelm, you’re in the right place. This isn’t a generic list of steps. This is your strategic guide to setting up your first Google Classroom for maximum impact from day one. Let’s dive in.
Before You Click “Create”: The 5-Minute Pre-Flight Checklist
Before you even touch Google Classroom, a little prep saves a ton of time later. Think of this as setting the foundation for your digital house.
- Gather Your Roster: Have a digital list of your students’ names and email addresses. If your school uses a Student Information System (SIS) like Infinite Campus or PowerSchool, this data is likely pre-loaded, but it’s good to have a backup.
- Organize Your Google Drive: Google Classroom will create a dedicated folder for each class in your Drive. Tidy up your Drive now. Create a main folder for the school year (e.g., “2023-2024 School Year”) so your new class folders have a clean home.
- Secure Your “Class Code”: Decide if you want to project the auto-generated class code for students to join, or if you’ll add them manually via email. The code is usually the fastest way.
- Have Your Syllabus Ready: Have a digital copy of your syllabus or a welcome letter. You’ll post this as your first material.
Your First Class: A Step-by-Step Walkthrough
Alright, let’s get our hands dirty. Navigate to classroom.google.com. Make sure you’re signed into the Google account you use for work (your school-issued account is best).
Step 1: Creating Your Google Classroom
Click the “+” sign in the top-right corner and select “Create class.”
A dialog box will appear. Here’s where a little strategy comes in:
- Class Name: Be clear and consistent. I recommend “Subject – Period # – Semester” (e.g., “Honors Biology – Period 3 – Fall 2023”). This makes it easy for you and students to find the right class.
- Section: This is optional but great for adding more detail, like the classroom number or the specific course code from your SIS.
- Subject: Select from the dropdown. This helps organize your classes on the homepage.
Click “Create.” Just like that, your digital classroom is born!
Step 2: Personalize Your Space (The Fun Part!)
Click on the default header image on your class tile. Google Classroom offers a gallery of beautiful, subject-specific themes. Pick one that resonates! You can also upload your own photo—a picture of your actual classroom, a class mascot, or a relevant meme (yes, really!) can make the space feel uniquely yours.
This small act of customization boosts student buy-in. It signals that this isn’t a sterile, corporate platform but your class’s home online.

Step 3: The Stream vs. The Classwork Page: Understanding the Ecosystem
This is the most critical concept for a successful Google Classroom setup.
- The Stream: This is the social hub. It’s a chronological feed of announcements, upcoming assignments, and discussions. It can get chaotic fast if everything is posted here. My personal rule: I use the Stream almost exclusively for quick announcements and celebrating student work. I turn off students’ ability to post to the Stream (in the settings) to prevent it from becoming a free-for-all comment section.
- The Classwork Page: This is the engine room. This is where all assignments, questions, quizzes, and materials are organized. This is where you’ll spend 90% of your time.
Pro Tip: Go to your Settings (the gear icon) immediately. Under “General,” find “Stream” and select “Show attachments and details.” This gives students a preview of assignments right on the Stream without cluttering it.
Architecting Your Classwork Page: The Key to Clarity
A messy Classwork page is the digital equivalent of a messy desk. Let’s build it right from the start.
Using Topics to Create Units
Don’t just post assignments in a long list. Use the “Create” button and select “Topic” to build a unit-based structure.
For example, for a History class, your Topics might be:
- Unit 1: The Revolutionary War
- Unit 2: Forming a Government
- Unit 3: The Civil War
- Resources (a topic I always create for syllabi, rubrics, and frequently accessed materials)
This allows students to easily find what they need, even if they were absent. It models organized thinking.
Your First Post: The “Materials” Post
Your first post shouldn’t be an assignment. It should be a welcome.
- Click “Create” -> “Material.”
- Title it: “Start Here: Welcome & Syllabus!”
- Attach your syllabus file from Google Drive.
- In the description, write a warm welcome message and instructions.
- On the right, select the “Resources” Topic you created (or just post it to the top without a topic for now).
- Click “Post.”
Congratulations! You’ve just posted your first piece of content.
Inviting Your Students: Two Simple Methods
Now for the most important part: filling your digital classroom with students.
| Method | Best For | How-To |
|---|---|---|
| Class Code | Quickly onboarding a whole class in-person. | Project the unique code (e.g., 7hjhkp2) from the class tile. Students go to classroom.google.com, click “+,” and “Join class.” |
| Email Invite | Adding individual students later or for small groups. | In the “People” tab, click “Invite students,” and enter their email addresses. |
A word of caution: The class code is reusable but expires if you don’t use it. You can also reset it from the “People” tab if it gets shared too widely.
Beyond Setup: Your First Assignment & Advanced Tricks
Your classroom is set up and your students are in. The real magic begins.

Creating Your First Assignment
Click “Create” -> “Assignment.”
- Title: Be specific. “Chapter 4 Reading Questions” is better than “Homework.”
- Instructions: Be clear and detailed. This is where you set expectations.
- Points: Select a value or “Ungraded.”
- Due Date & Topic: Assign a due date and file it under the correct Topic. This is crucial!
- Attachment: This is the powerhouse. You can attach a PDF, a link, or a Google Doc. When you attach a Doc, you have a critical choice:
- Students can view file: They read it but can’t edit. Good for articles.
- Students can edit file: Everyone works on one document. Use with caution!
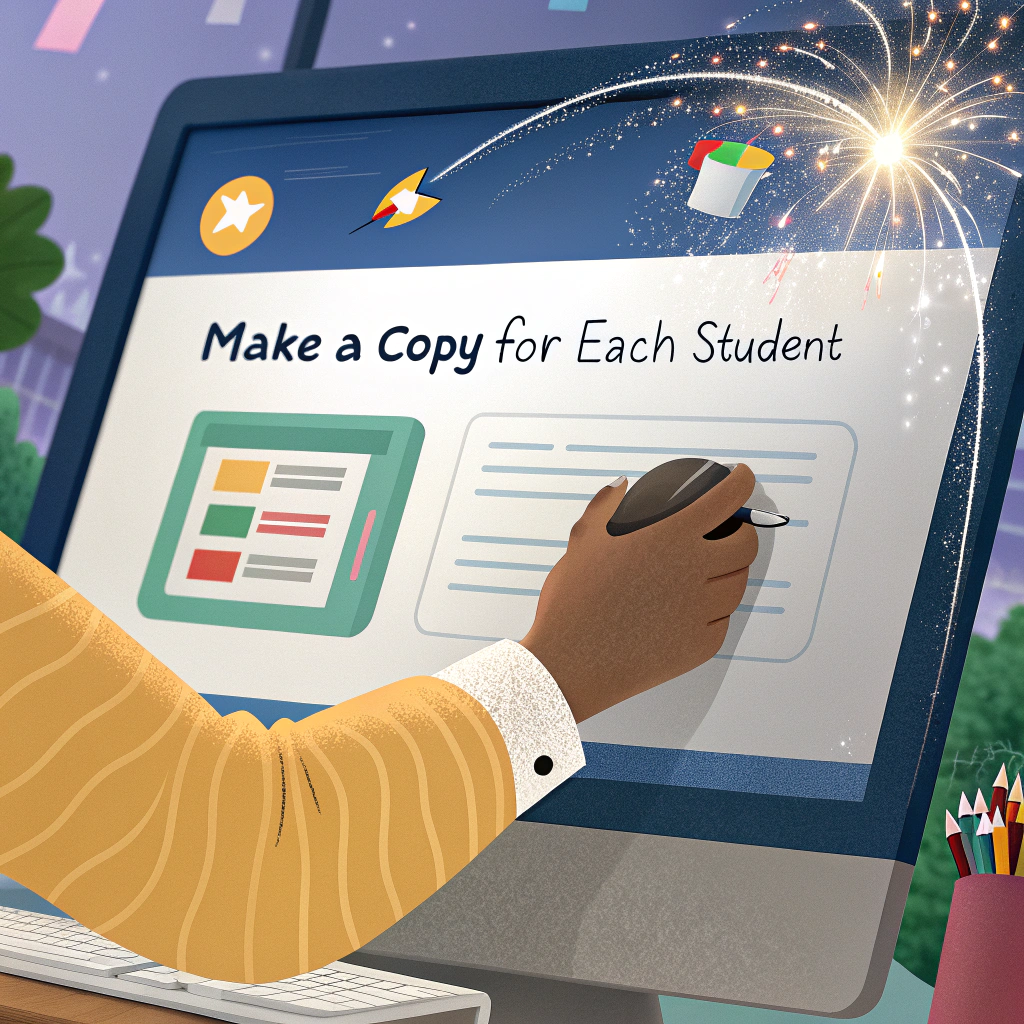
- Make a copy for each student: This is the game-changer. Google Classroom will automatically create a unique copy of the document for every student in the class, name it with the assignment title and the student’s name, and place it in their Drive and yours. No more “I don’t have the worksheet!”
Click “Assign,” and it’s live!
The Teacher’s Secret Weapon: The “Schedule” Button
You don’t have to be at your computer at 3 PM to post an assignment for the next day. Instead of clicking “Assign,” click the dropdown arrow next to it and select “Schedule.” Choose a date and time, and Google Classroom will post it for you automatically. This is perfect for planning entire units on a Sunday afternoon.

Conclusion: Your Classroom, Reimagined
Setting up your first Google Classroom might feel like a small step, but it’s the first step toward a more organized, efficient, and engaging teaching practice. You’ve just built a centralized command center for your class—a place where distributing work, collecting it, providing feedback, and communicating can happen seamlessly.
The initial few minutes you’ve invested here will pay dividends in hours saved over the coming weeks. You’ve traded paper stacks for a digital workflow that works for you, not against you.
Now, it’s your turn. What’s the first class you’re going to set up? Do you have a burning question about a specific feature? Share your thoughts or your biggest “aha!” moment in the comments below—let’s learn from each other and build better classrooms together.
And if you’re ready to level up, check out our next guide on using Google Forms for auto-grading quizzes within Google Classroom.